User-first framing
Start by naming your outcome: less plastic in rows, quicker soil return, or simpler end-of-season cleanup. That single need steers material choice, application method, and disposal expectations. If you’re used to conventional polyethylene, compare it directly with options labeled biodegradable and compostable and with how you currently manage waste from agricultural films—note that many growers still source conventional cover from suppliers of agriculture plastic film, so the switch should map to clear benefits for your crop cycle, labor, and soil goals.
Materials and how they behave in the field
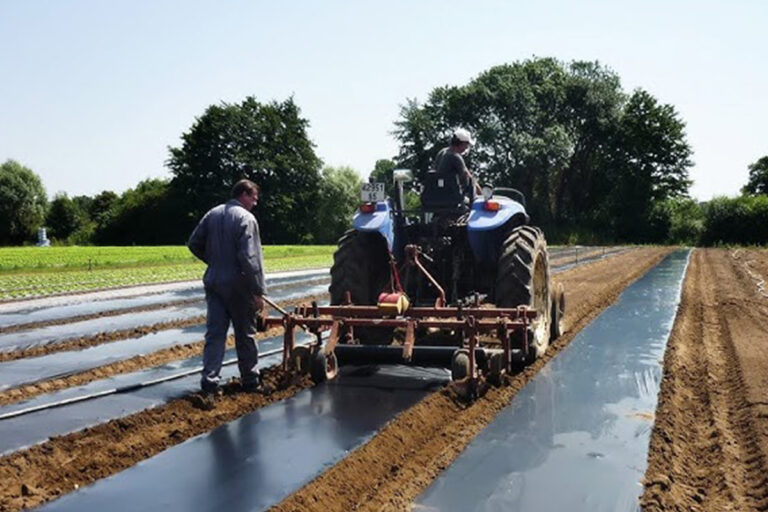
Biodegradable mulch films are typically blends of polymers such as PBAT, PLA, or starch-based compounds. These differ from polyethylene in their breakdown pathways: some hydrolyze and then biodegrade under microbial activity, others fragment faster under UV and heat. Material choice affects traction, tear resistance, and how long the film keeps soil warm and moist. Thicker biodegradable films last longer but may leave more residue if conditions are cooler or drier than expected. Choose the material with the deployment window that matches your crop’s critical growth period rather than chasing labels alone.
Practical uses and placement decisions
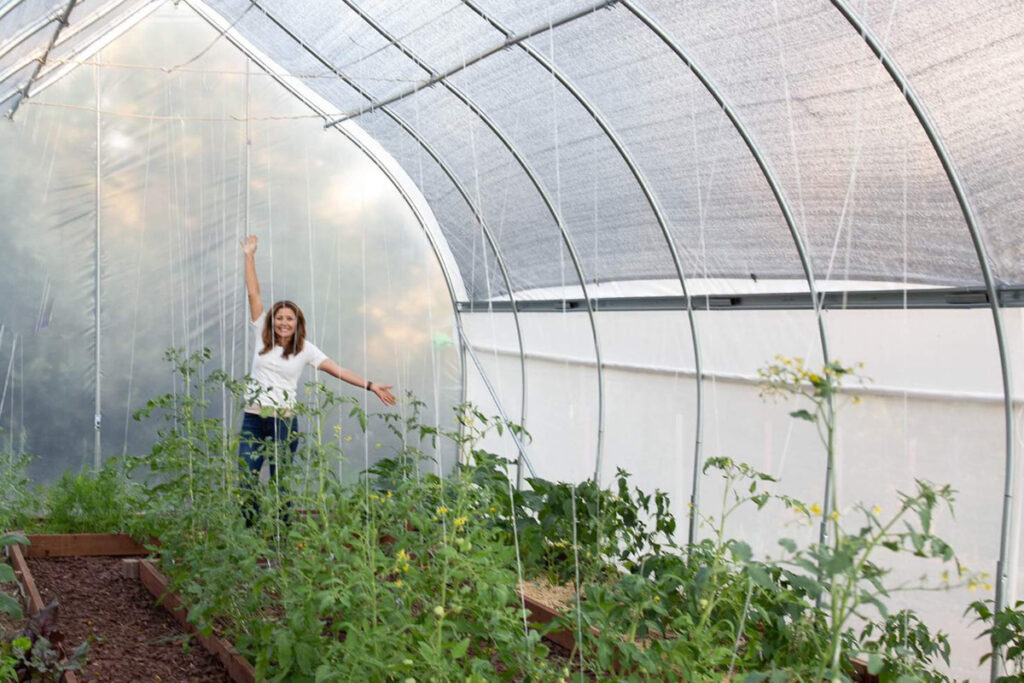
Match film performance to planting density, irrigation type, and soil texture. For warm-season vegetables where soil warming and moisture retention matter for 8–12 weeks, a mid-life biodegradable film is usually sufficient. For perennial beds or long-season melons, consider hybrid strategies: durable PE on critical rows and biodegradable film on shorter rotations. Lay film over well-prepared beds, anchor edges securely, and plan dripline placement to prevent root-zone drying. If you use raised beds, account for greater exposure to sunlight which accelerates breakdown.
Common pitfalls and how growers fix them
Expect a few predictable mistakes: buying film rated by compostability standards without matching compost conditions; assuming “biodegradable” means zero residue; underestimating wind uplift; or installing film when soil is too cold for microbial activity. Test a representative plot before committing to a whole field. If residue persists, switch to thinner film, add mechanical cultivation to incorporate fragments, or time planting to coincide with peak microbial activity.
Alternatives and quick comparisons
Conventional polyethylene still wins when durability and season-long soil warming are non-negotiable; it must be collected and recycled where infrastructure exists. Straw mulch and living mulches reduce plastic use but change pest and weed dynamics and often increase labor. Compostable films require industrial composting to meet certification claims; if local composting is absent, they may not complete degradation as expected. Choose based on disposal options you can practically access.
Real-world application: nursery and tray practices
Nursery managers prioritize uniform germination and clean transplanting. In regions like the Westland greenhouse cluster of the Netherlands, routines center on tight scheduling and minimal substrate contamination, so teams prefer materials that leave no sticky residues around trays and plugs. When you handle seeding and propagation, check compatibility with your trays and mechanized planters; many operations pair biodegradable bed covers with standardized propagation modules such as multi cell seed tray to keep seedlings clean and ease transplant. That pairing reduces manual cleanup and keeps production lines consistent across shifts.
Key project questions before purchase
Ask these and record the answers: what is the expected functional period in your climate; how will you collect or incorporate residue; what lab or field data supports the vendor’s degradation claims under your soil temperature range; can your planting equipment handle thinner or stiffer films; what disposal or composting routes are actually available within a 50–100 km radius. Match warranties and technical sheets to a short field trial before full adoption.
Final synthesis and practical value
Choose based on user needs: match material lifetime to crop timing, test in a small block, and confirm local handling and composting capacity. That process reduces surprises and makes the environmental benefit real rather than theoretical, and practical suppliers that understand grower workflows provide technical data, trial support, and compatible product pairings—exactly the sort of reliability growers expect from a partner like HGDN.